The Importance And Nessesity To Learn And Discover More About Bioprinting
made by christopher cantu, vincent pacheco, And ivan diez a little bit boi
What Is Bio Printing?
This is a projectr about doing a experement about 3D printing with living cells. usually when one thinks about 3D printing they think of the usel plasic 3D printing to make objects and little trinket toys. But recent inivation has led to being able to 3D print living things. this is good cause these 3D printed living organisams can be shaped into human organs or other things thta benifit humans. 3D printing living things have been happening scince the early 2000's. the first people to actually invent bioprinting was the bostons children hospital in the 1990's.
How We Can Replicate BioPrinting
We can replicte bioprinting with plant seeds and sodium alginate. How does this chemical reaction work? Sodium alginate consists of alginate, a negatively charged molecule made from seaweed, and positively charged sodium ions. When sodium alginate is dissolved to form a sodium alginate solution, the sodium ions dissociate, or detach, from the alginate. When this sodium alginate solution is dropped into a calcium chloride solution, the calcium ions bind to the alginate, forming calcium alginate. The calcium can join two molecules or strands of alginate together in this way, which creates a thickened, gelatinous substance. This chemical reaction is used in real 3D bioprinting applications.
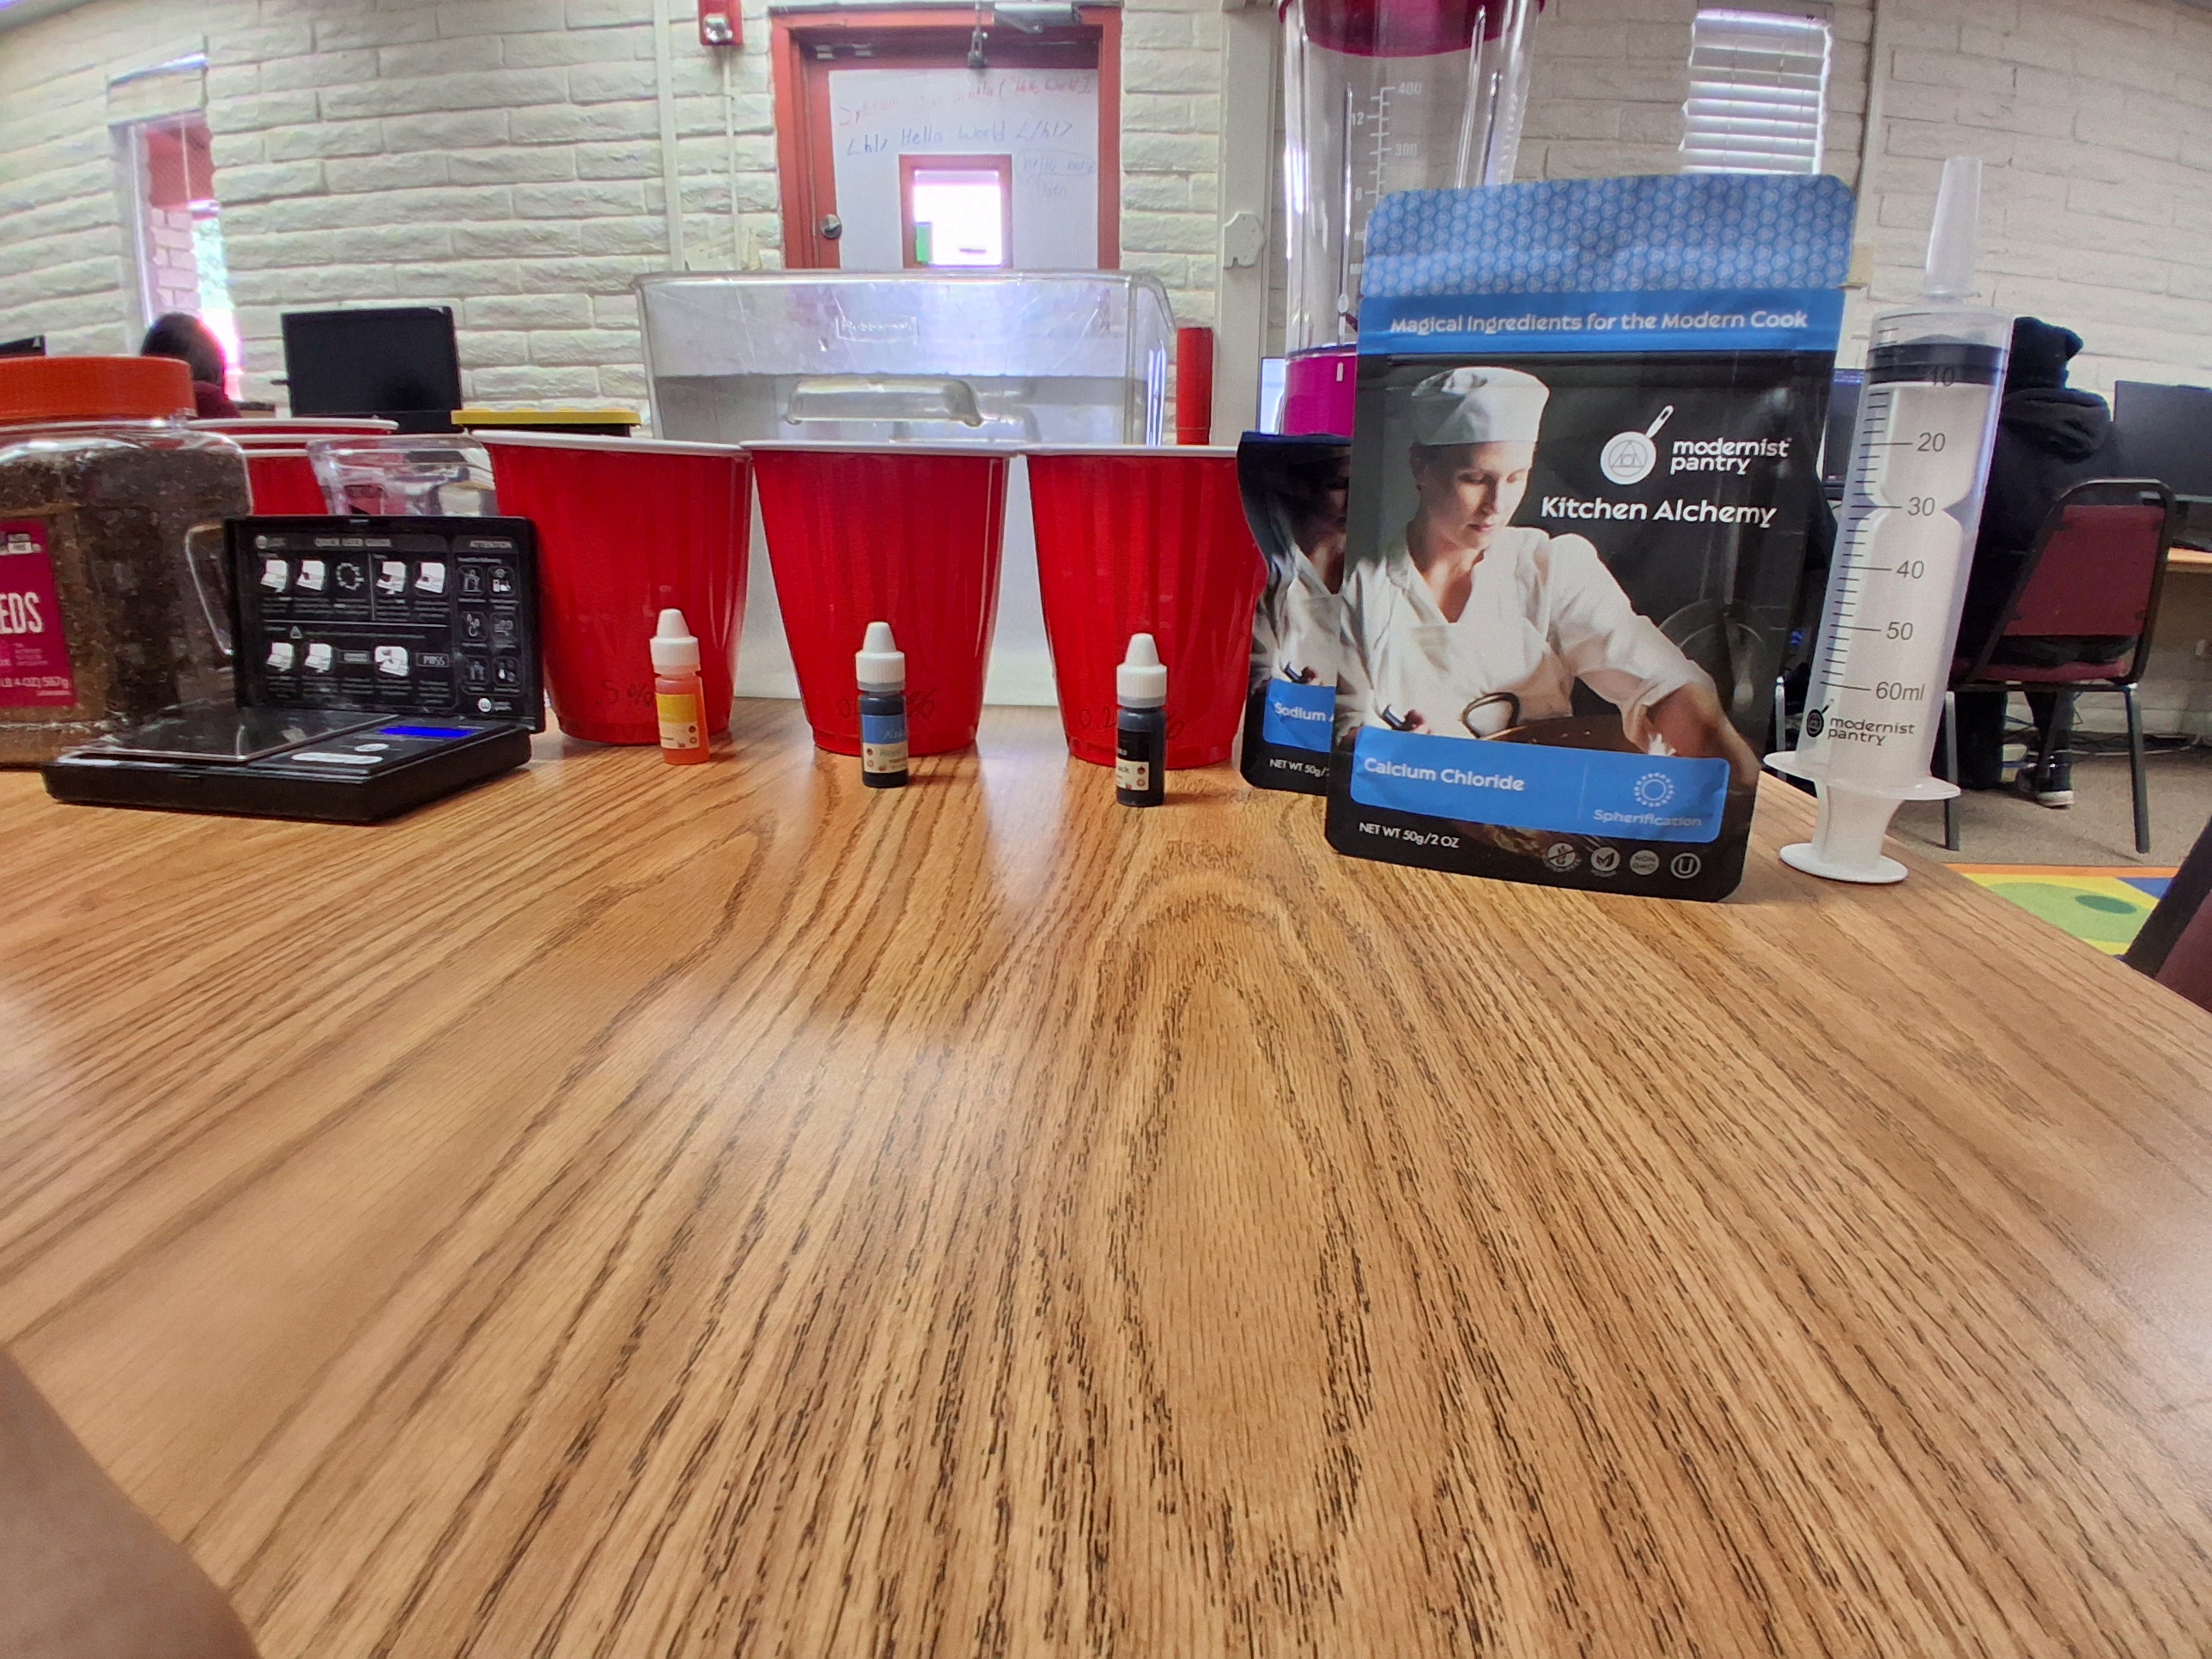
Resources
Sodium alginate,
Calcium chloride,
60 cc plastic syringe,
Distilled water; available from a grocery store,
Food coloring of any desired color,
Wax paper (1 sheet),
Blender, large or small,
Cups to hold the sodium alginate solutions in overnight (3),
These should be able to hold at least 240 mL each,
Something to cover these cups, such as a lid or plastic wrap,
Cups or mugs to perform the 3D bioprinting inside of (3),
Small cups to hold the seeds (3),
These should be able to hold at least 40 mL each,
Clean cup or bowl for preparing the calcium chloride solution,
Clean cup or bowl for cleaning the syringe,
Optional: Small cup or bowl for practicing the chemical reaction in,
Cookie cutters of the same shape and size (3),
It is ideal to have the cookie cutters be the same shape and size to best compare the results when only changing the concentration of the sodium alginate solutions.,
To be deep enough to bioprint 3 to 4 layers, the cookie cutter should be 1 inch deep.,
An ideal-sized cookie-cutter shape for this science experiment is about 2 to 3 inches in width or diameter. Smaller cookie cutters can be used, but the resulting shape will be small. Larger cookie cutters can be used, but the resulting shape may be less solid.,
Sticky notes or tape and a permanent marker for labeling cups,
Seeds (at least 320),
Radish seeds, which are available from Amazon.com, work well because they typically germinate quickly, and they are small enough that they will not become stuck in the nozzle of the syringe.,
Other seeds can be used, but they need to be small enough that they will not become stuck in the syringe’s nozzle. If other seeds are used, the quantity may need to be adjusted.,
Timer, stopwatch, or clock that shows minutes
Access to a refrigerator
Step By Step
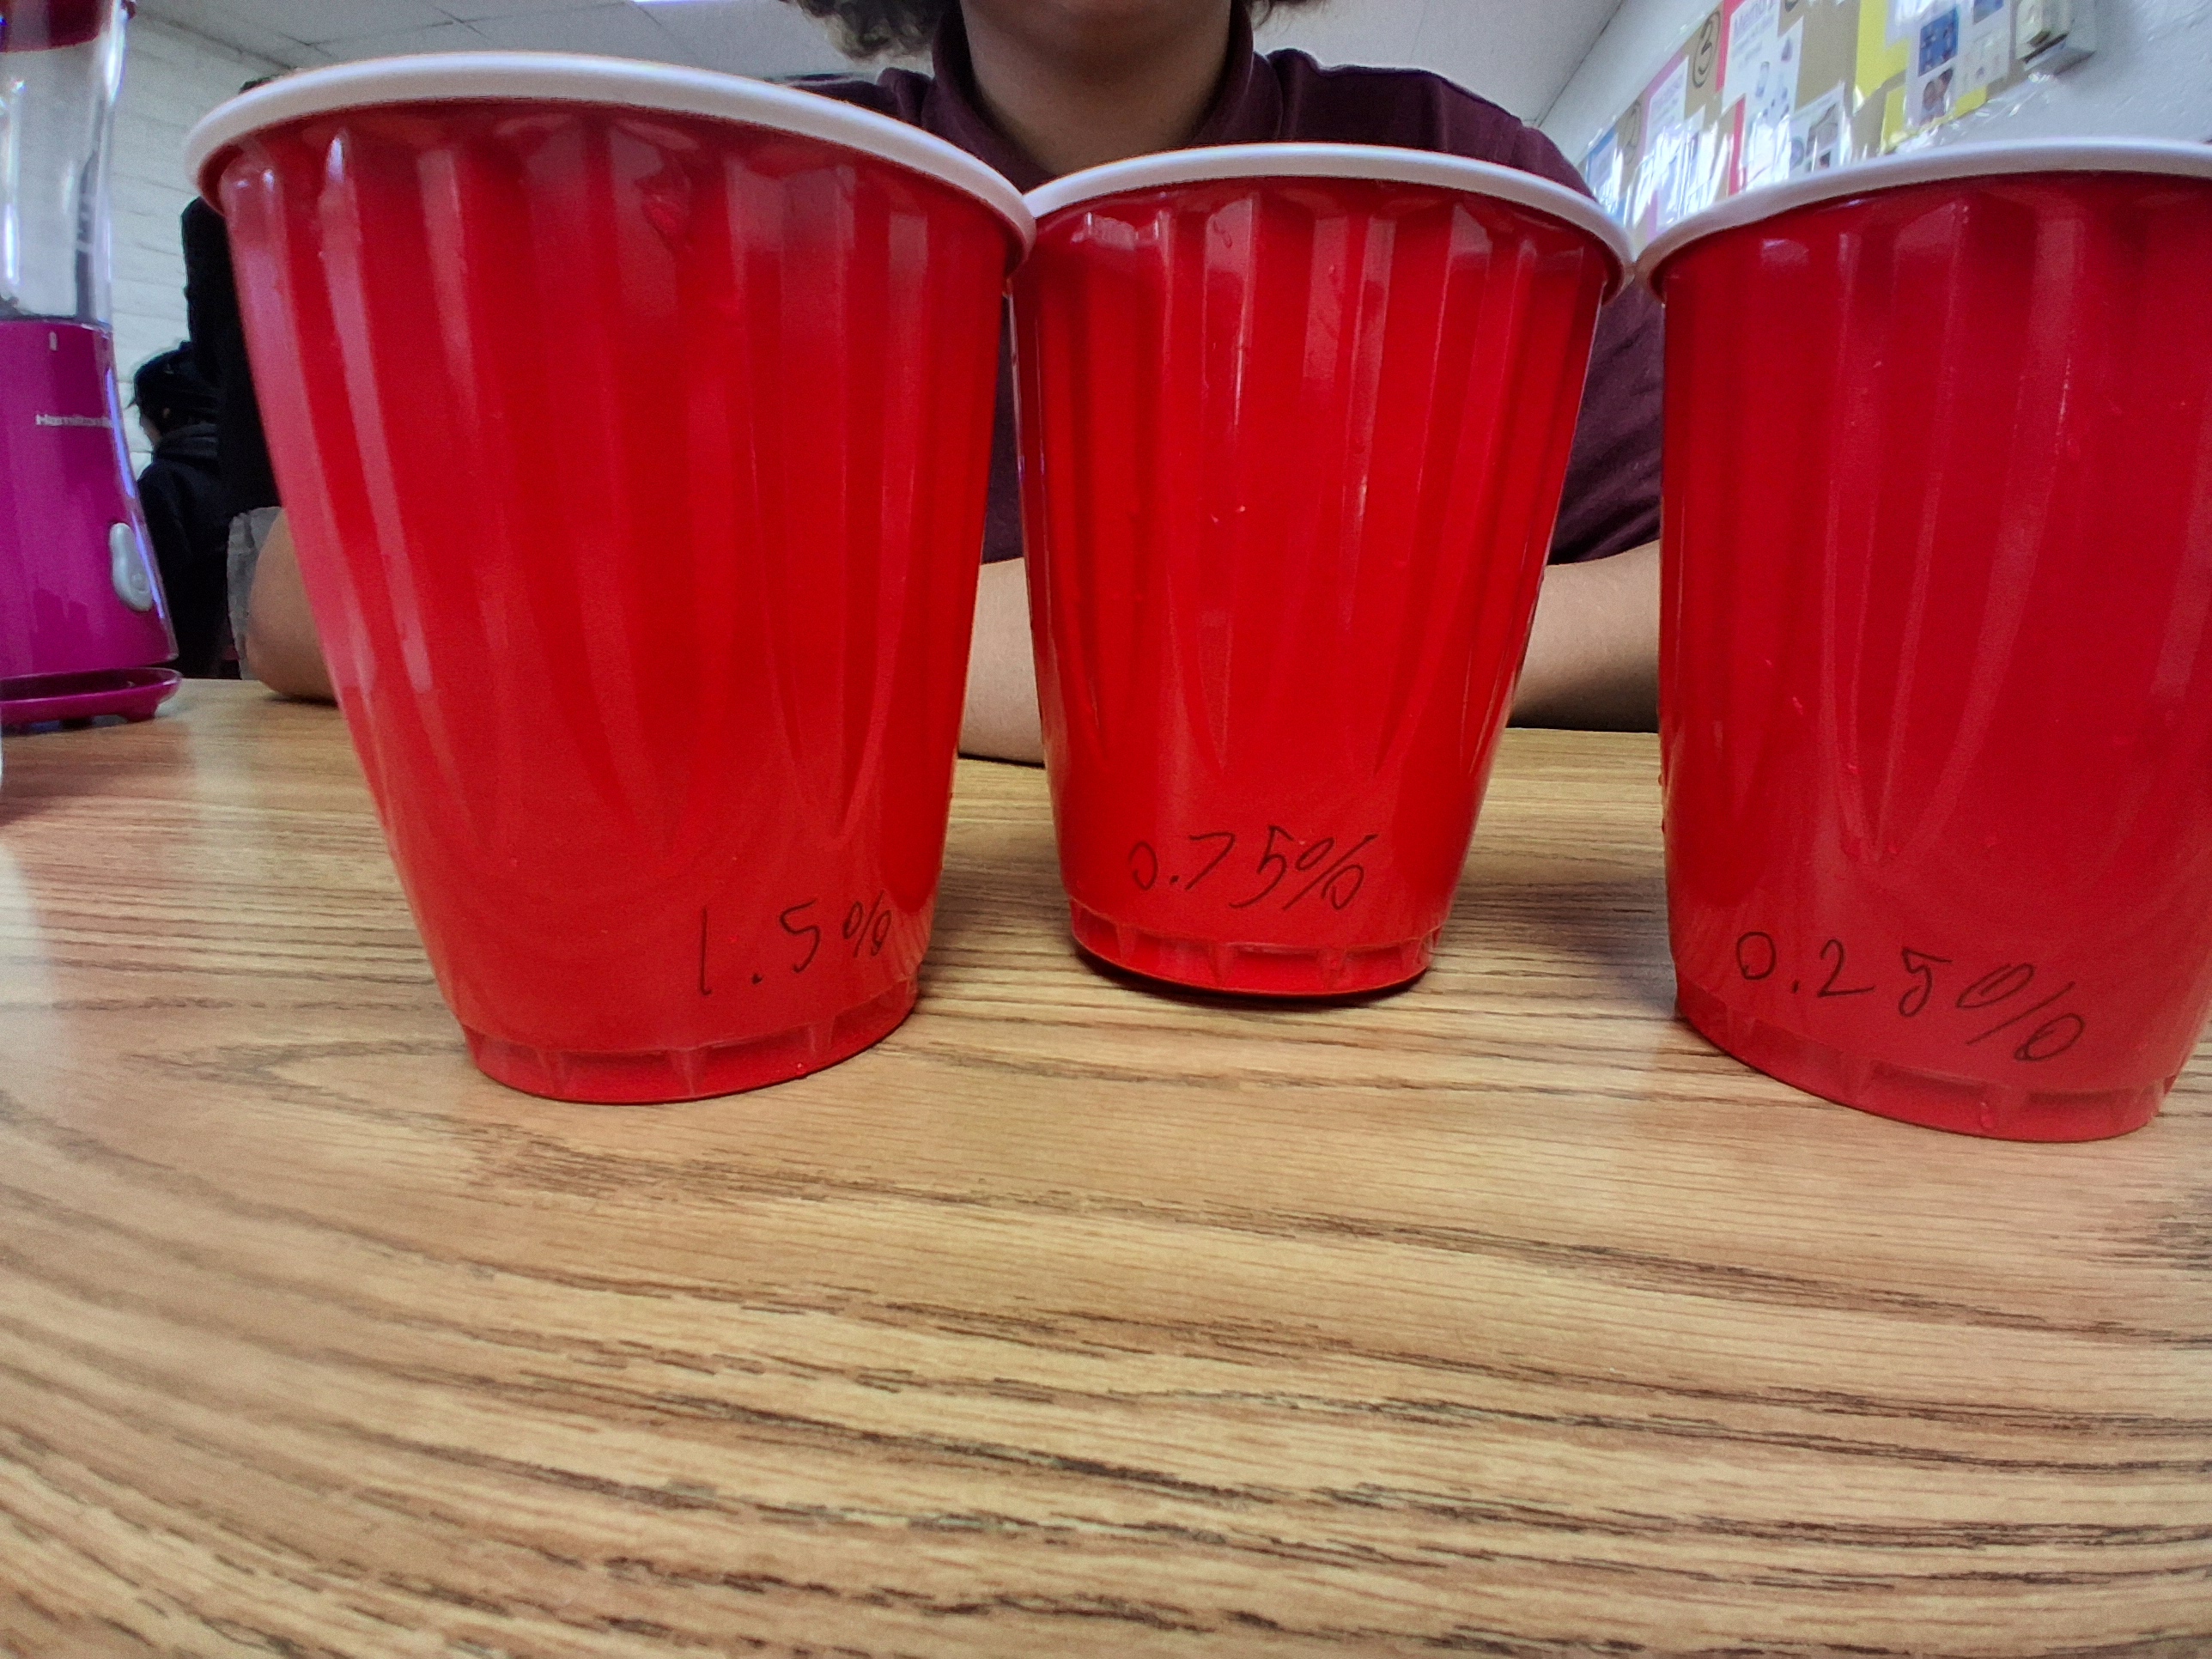
Our first step is too take three of our cups and label them“0.25%,” “0.75%,” and “1.5%.”
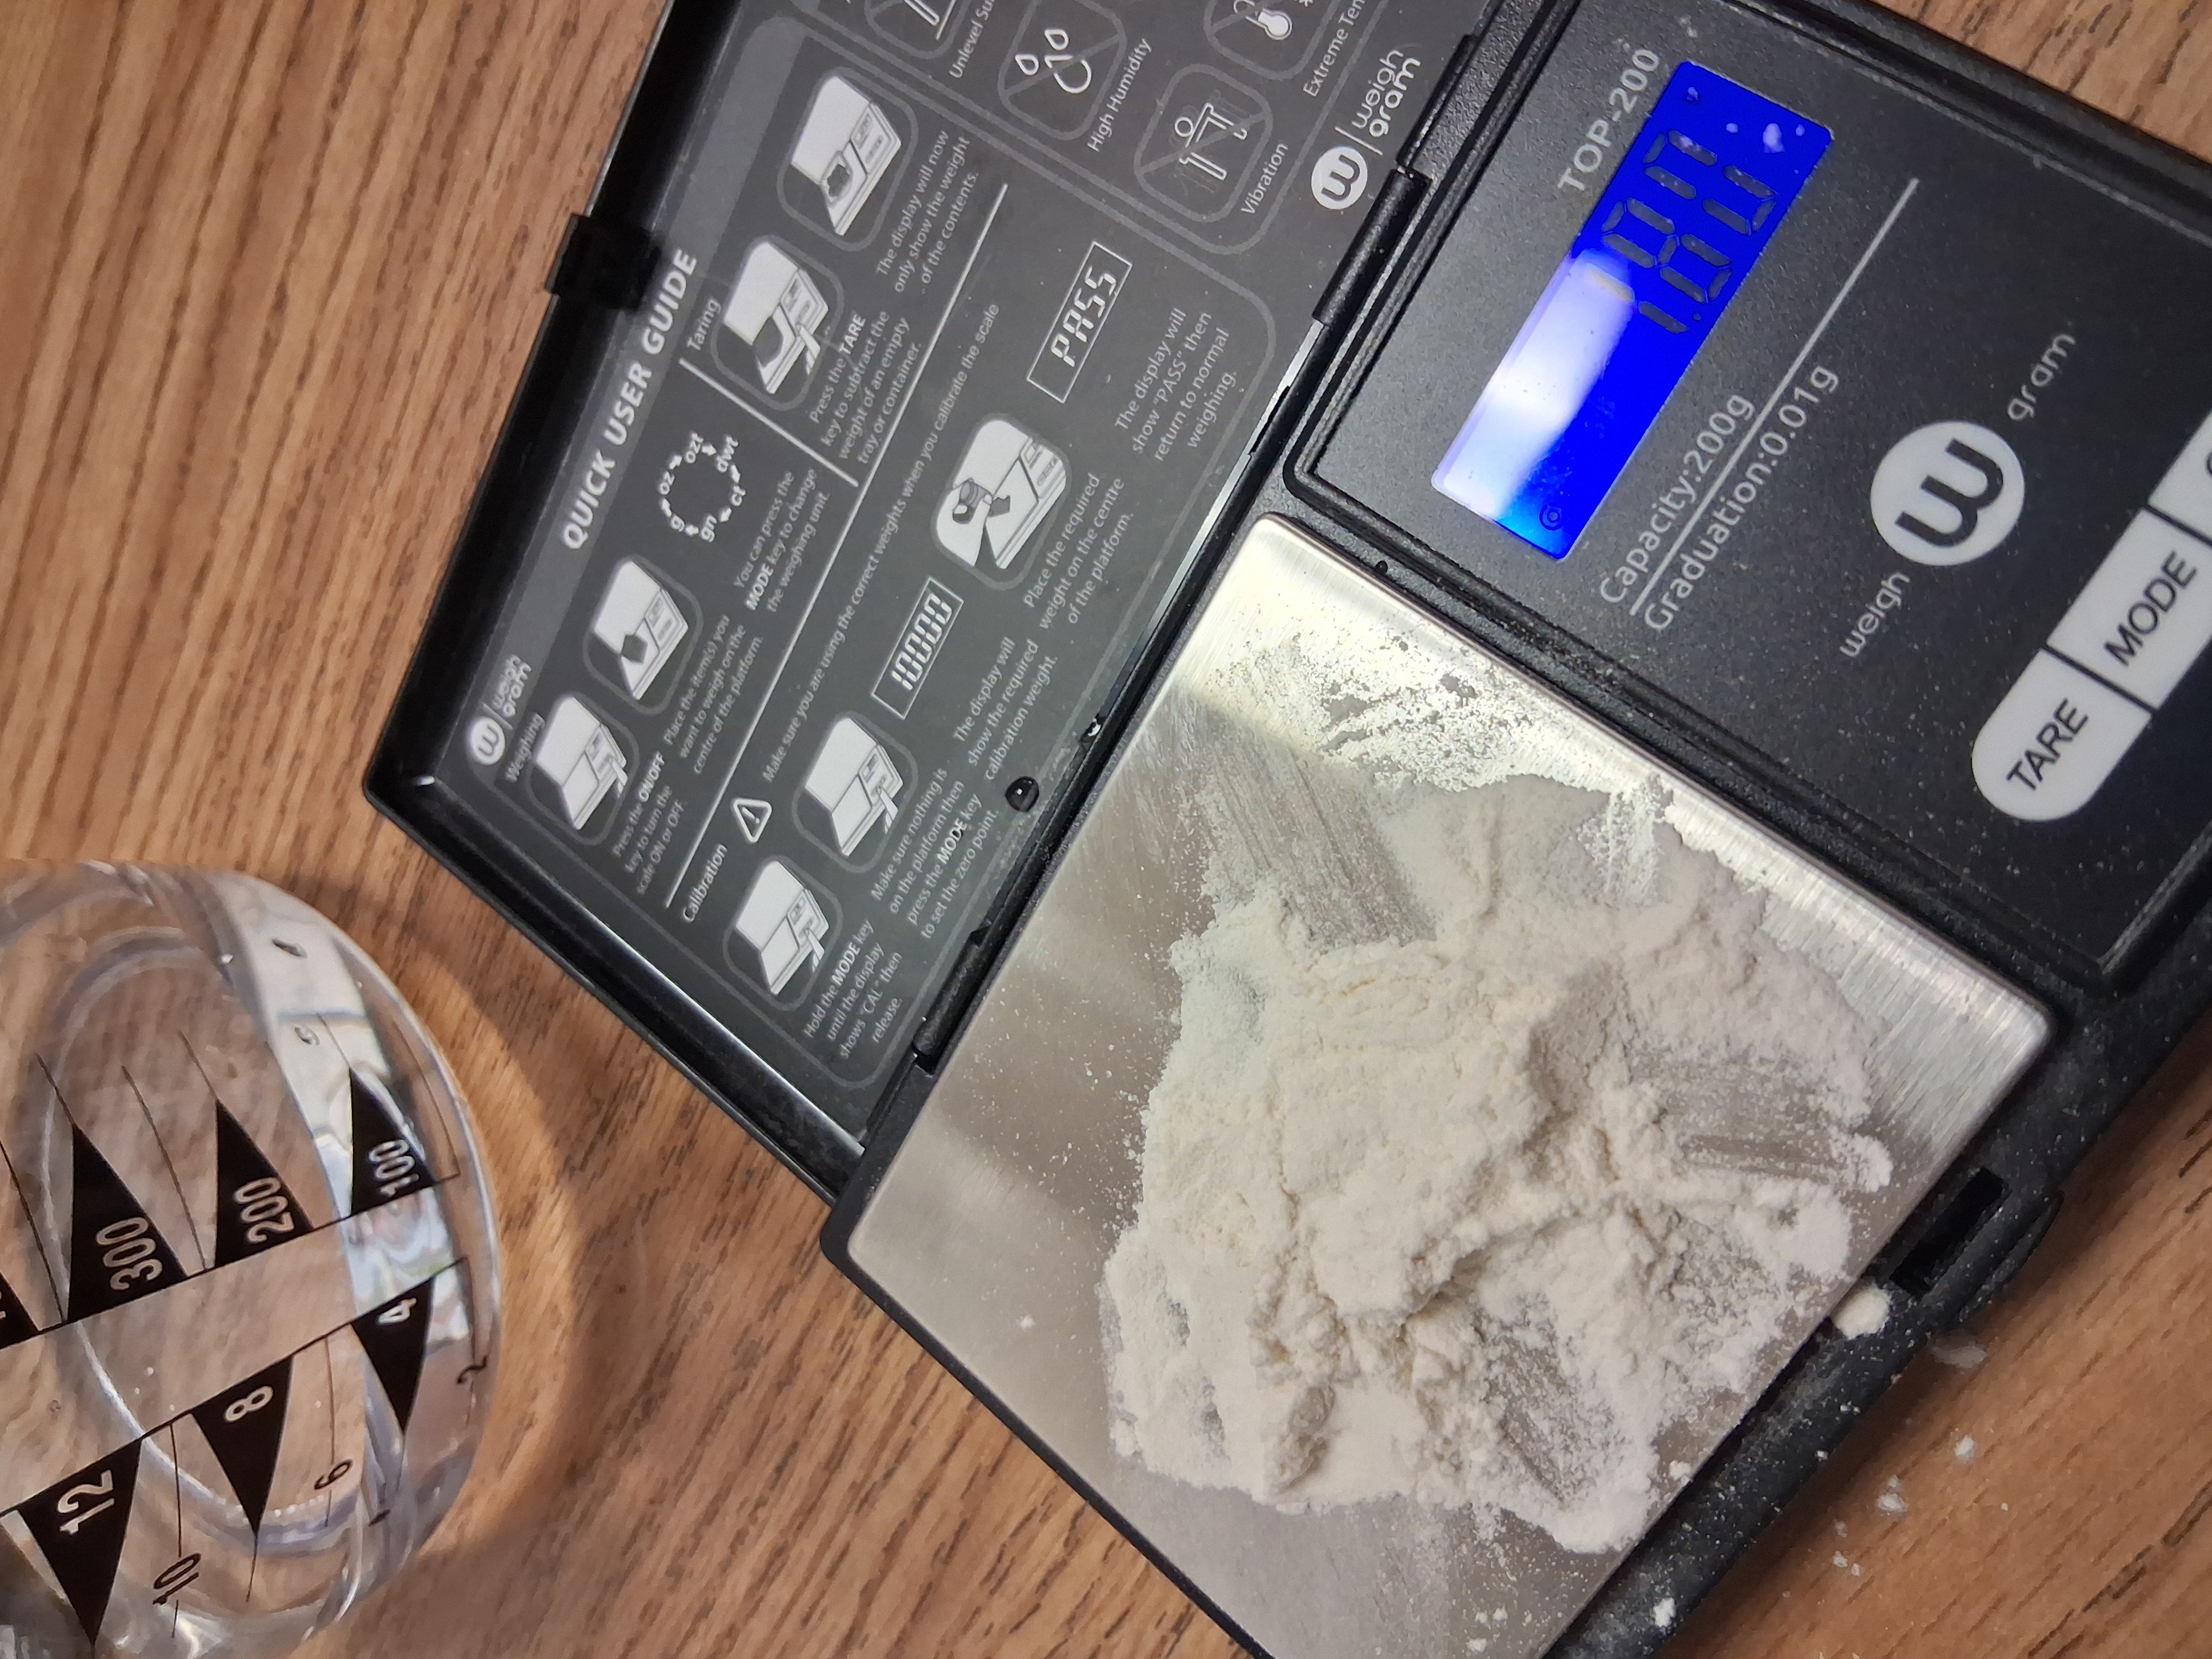
Pour 120 mL distilled water into a blender. Weigh 0.6 g sodium alginate using wax paper. Add alginate to the blender. Add 4 drops of food coloring. Add another 120 mL distilled water. Blend 2–3 times for 5–10 seconds until smooth. Transfer the solution to the cup labeled 0.25%.
clean the blender fully
Repeat the same steps, but use: 1.8 g sodium alginate, Label the finished cup 0.75%.
clean the blender fully again
Repeat the same blending steps with: 3.6 g sodium alginate, Label the finished cup 1.5%.
Cover all three alginate solutions with plastic wrap or lids. Refrigerate them overnight to remove bubbles.
Pour 240 mL distilled water into a cup. Weigh 0.7 g calcium chloride. Add it to the water and stir until dissolved. Set the solution aside.
Practice with the syringe (optional, Pour a small amount (1 cm deep) of calcium chloride into a bowl. Use the syringe to suck up 10–20 mL of the 1.5% alginate solution. Slowly inject it into the calcium chloride. Observe the gel reaction. Clean the syringe with distilled water afterward.
Place one cookie cutter flat on the bottom of each of three empty cups.
Pour calcium chloride solution until there is 1 cm of liquid in each cup (inside and outside the cookie cutter).
Label the cups 0.25%, 0.75%, 1.5%
Count 100 seeds into three cups. Label them: 0.25%, 0.75%, 1.5%
You’ll use this to clean the syringe between solutions.
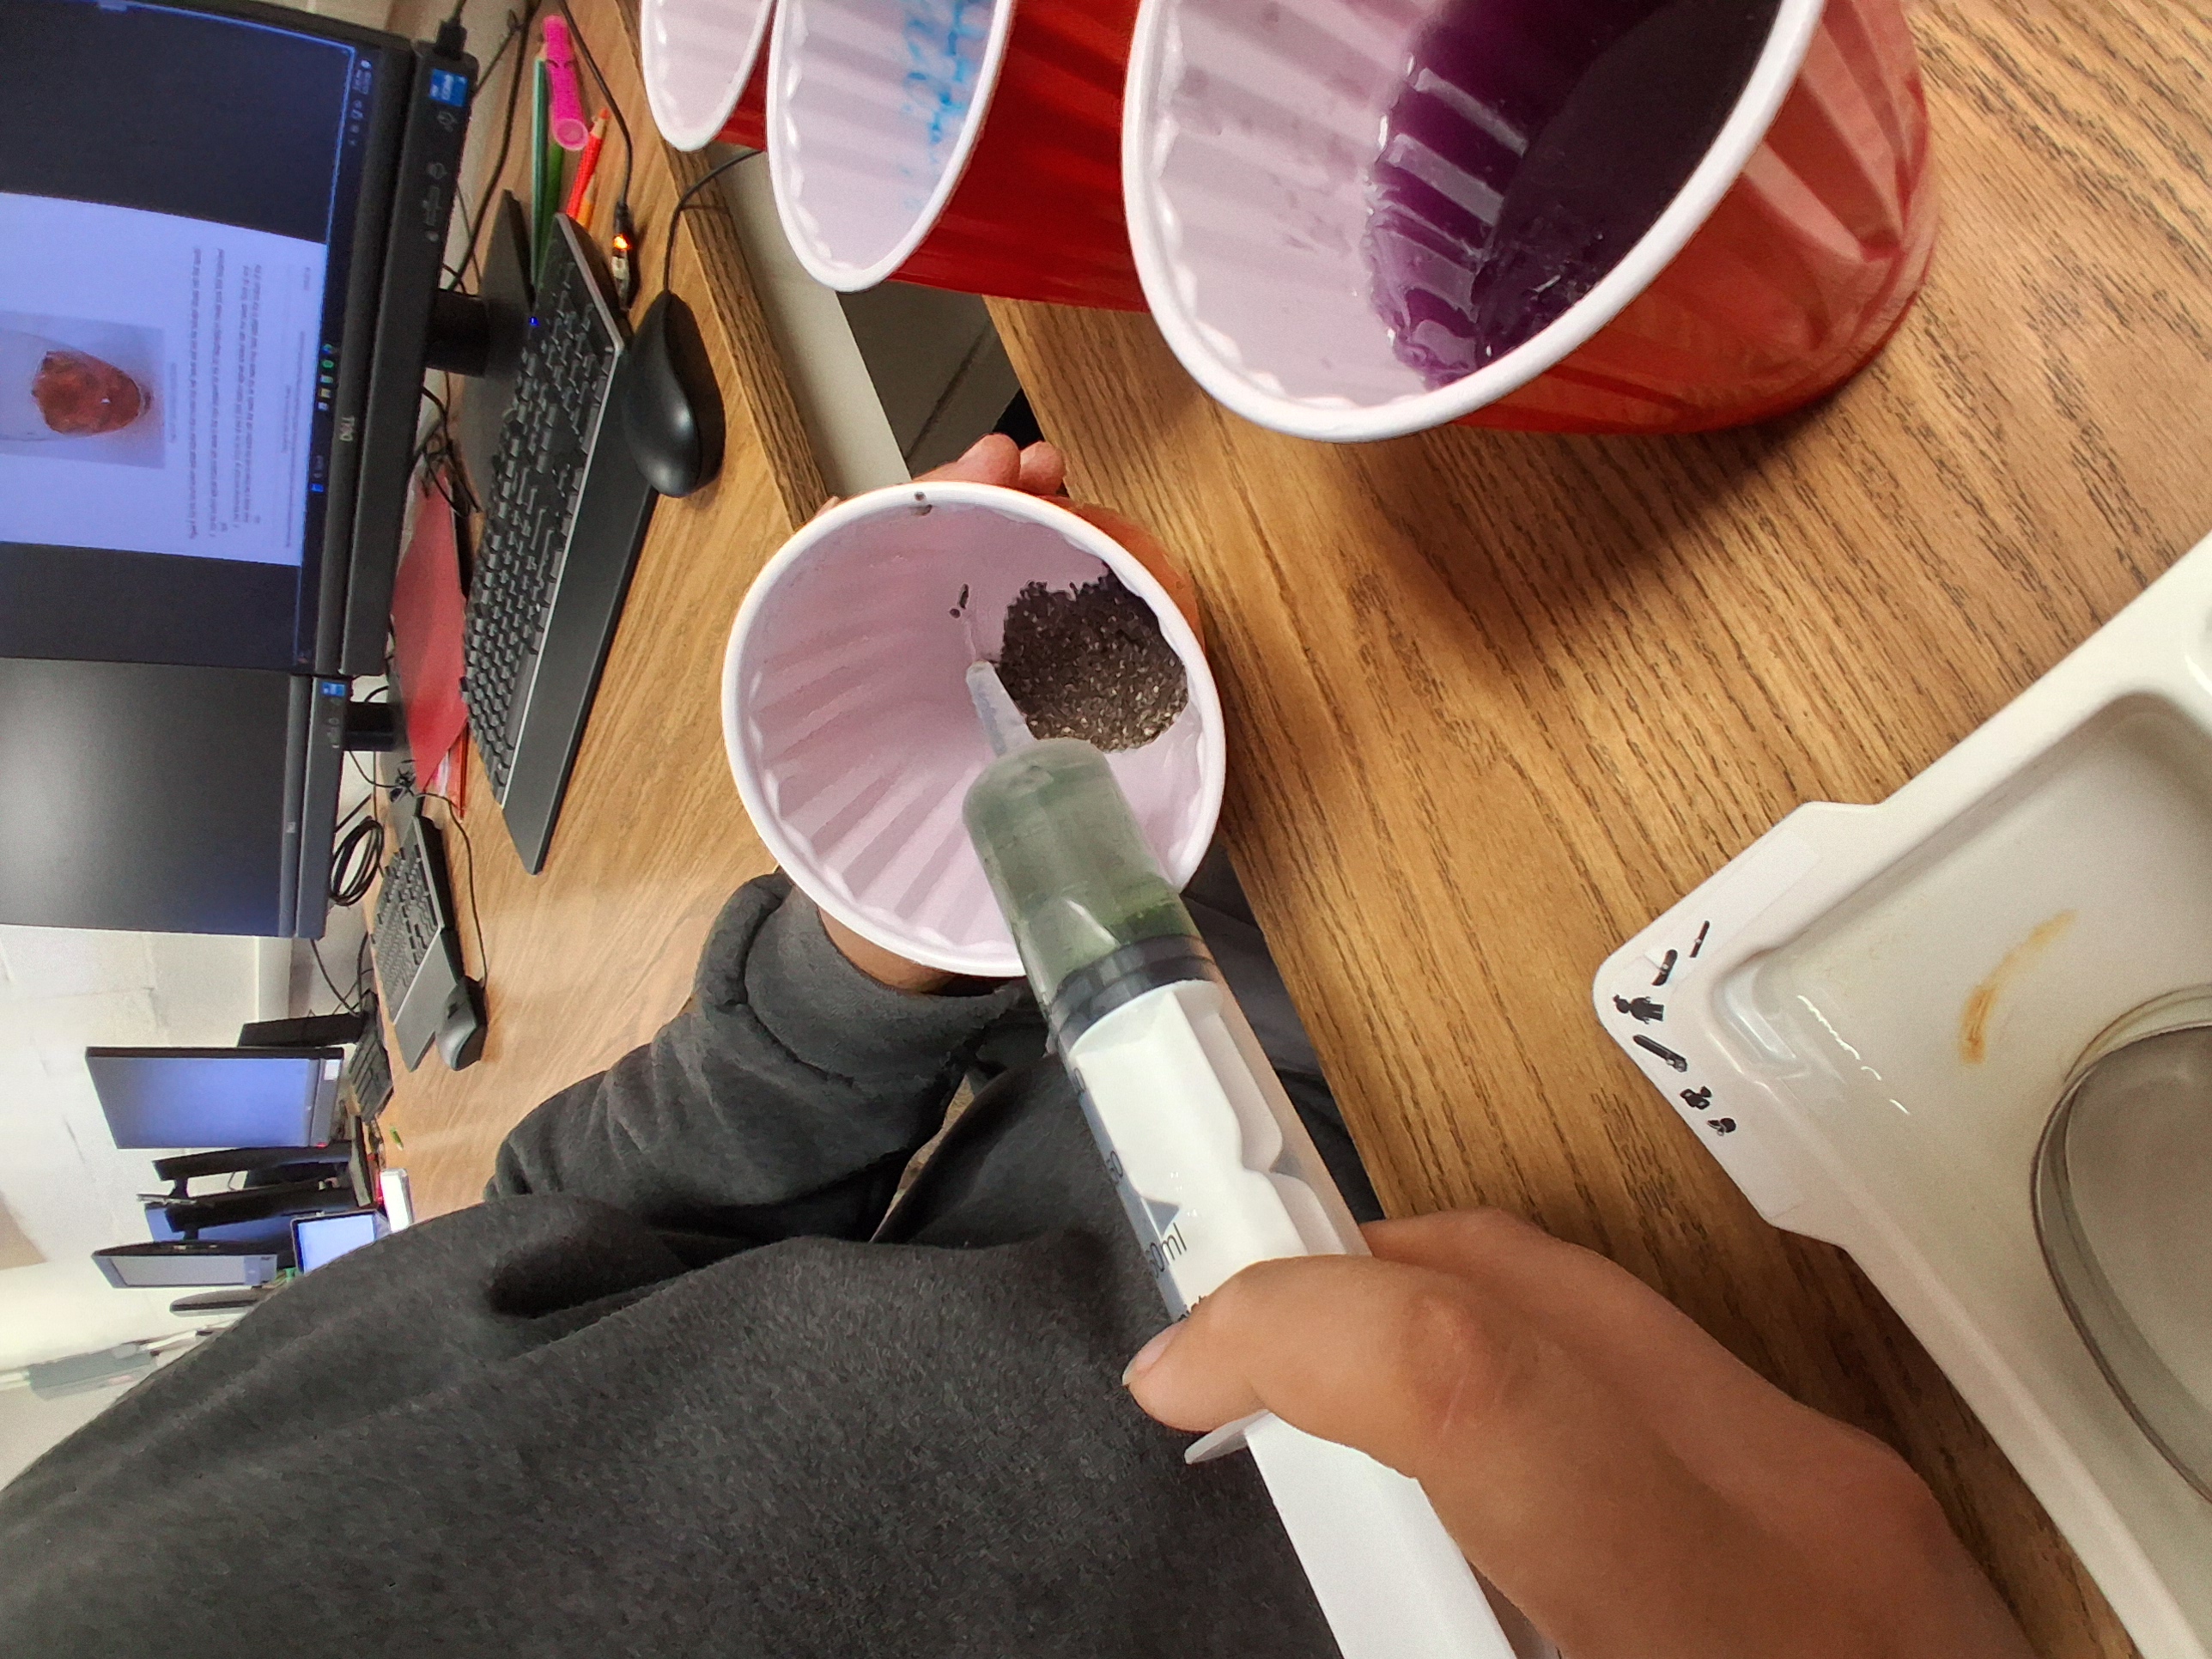
Use the syringe to pull up 40 mL of 0.25% sodium alginate. Slowly release it into the seed cup labeled 0.25%. Gently mix with the syringe tip. Clean the syringe thoroughly.
Pull up 40 mL 0.75% alginate, mix with the 100 seeds.
Clean syringe.
Pick up the cup labeled 0.25% seeds + alginate.
The seeds may have settled—use the syringe to gently suck up and push down the mixture a few times to stir and evenly resuspend the seeds.
Use the syringe to draw 10–20 mL of the 0.25% seed/alginate solution.
Make sure the seeds are evenly distributed inside the syringe.
Place the syringe nozzle so it touches the surface of the calcium chloride inside the 0.25% cookie‑cutter cup. Touching the surface helps the gel form properly. Slowly release the alginate mixture into the cookie cutter mold.
Move the syringe tip slowly around the entire shape, filling the center, the edges, all corners of the cookie cutter
If you don’t have enough to complete the layer, draw more mixture from the seed cup and continue. The goal: a layer about as thick as the syringe nozzle (a thin, even layer).
Once the layer looks complete, start a 15‑minute timer. This layer must remain undisturbed while it gels.
Mix seeds + solution with the syringe. Pull up 10–20 mL. Slowly inject into the 0.75% cookie‑cutter cup at the surface of the calcium chloride. Move the syringe around to fill the entire mold. Start a 15‑minute timer for this cup.
Stir the seed/alginate mixture using the syringe.
Pull up 10–20 mL. Slowly inject into the 1.5% cookie‑cutter mold, keeping the nozzle touching the calcium chloride. Fill evenly around the shape. Start the 15‑minute timer for this final cup.
Once the 15 minutes are up, gently pour a small amount of calcium chloride solution into each cup. Add enough so that there is about 1 cm (0.4 in) of calcium chloride above the bioprinted layer. This new layer of calcium chloride is needed so the next alginate layer can react and solidify.
Repeat steps used for the first layer, Stir the seed–alginate mixture (0.25%, 0.75%, or 1.5%) using the syringe. Pull up 10–20 mL into the syringe. Place the syringe tip on the surface of the new calcium chloride in the cookie cutter.
Slowly release the mixture, moving around the mold to form a full, even layer.
Stop when the layer is complete and about as thick as the syringe nozzle.
Let it sit 15 minutes undisturbed.
After each 15‑minute setting time, add another 1 cm of fresh calcium chloride on top. Repeat the bioprinting steps to add another layer.
Continue repeating this process until the cookie cutter mold is filled to the top.
You will typically get 3–4 layers per mold.
After each 15‑minute setting time, add another 1 cm of fresh calcium chloride on top. Repeat the bioprinting steps to add another layer.
Continue repeating this process until the cookie cutter mold is filled to the top. You will typically get 3–4 layers per mold.
When the final layer reaches the top of the cookie cutter, carefully add a little more calcium chloride until the liquid level just reaches the top edge of the cookie cutter. This helps the very top of the gel solidify evenly.
Don't worry, You can trim off extra gel after it fully solidifies
If needed, mix more solution by repeating the same steps as before: 240 mL distilled water 0.7 g calcium chloride
Let all three cups sit undisturbed for at least 6 hours, or overnight.
Do not move or touch the molds — the gels are still forming and can break if bumped.
Count out 20 seeds. Place them spaced out on a paper towel. Fold the towel carefully so the seeds stay inside. Put the folded towel into a sealed plastic bag. Moisten the towel with tap water — damp, not soaked. Pour out excess water if needed. then seal the bag.
Put the sealed bag somewhere similar to where your bioprinted gels will be kept. This gives you a way to compare normal seed germination vs. the bioprindasasdwd seeds.
from there you want to leave the solutions for 6 hours or overnight.
after waiting you want to make sure that you change the old calcium chloride solution for tap water
from there your done! you can continue to change the water out and continue observing.
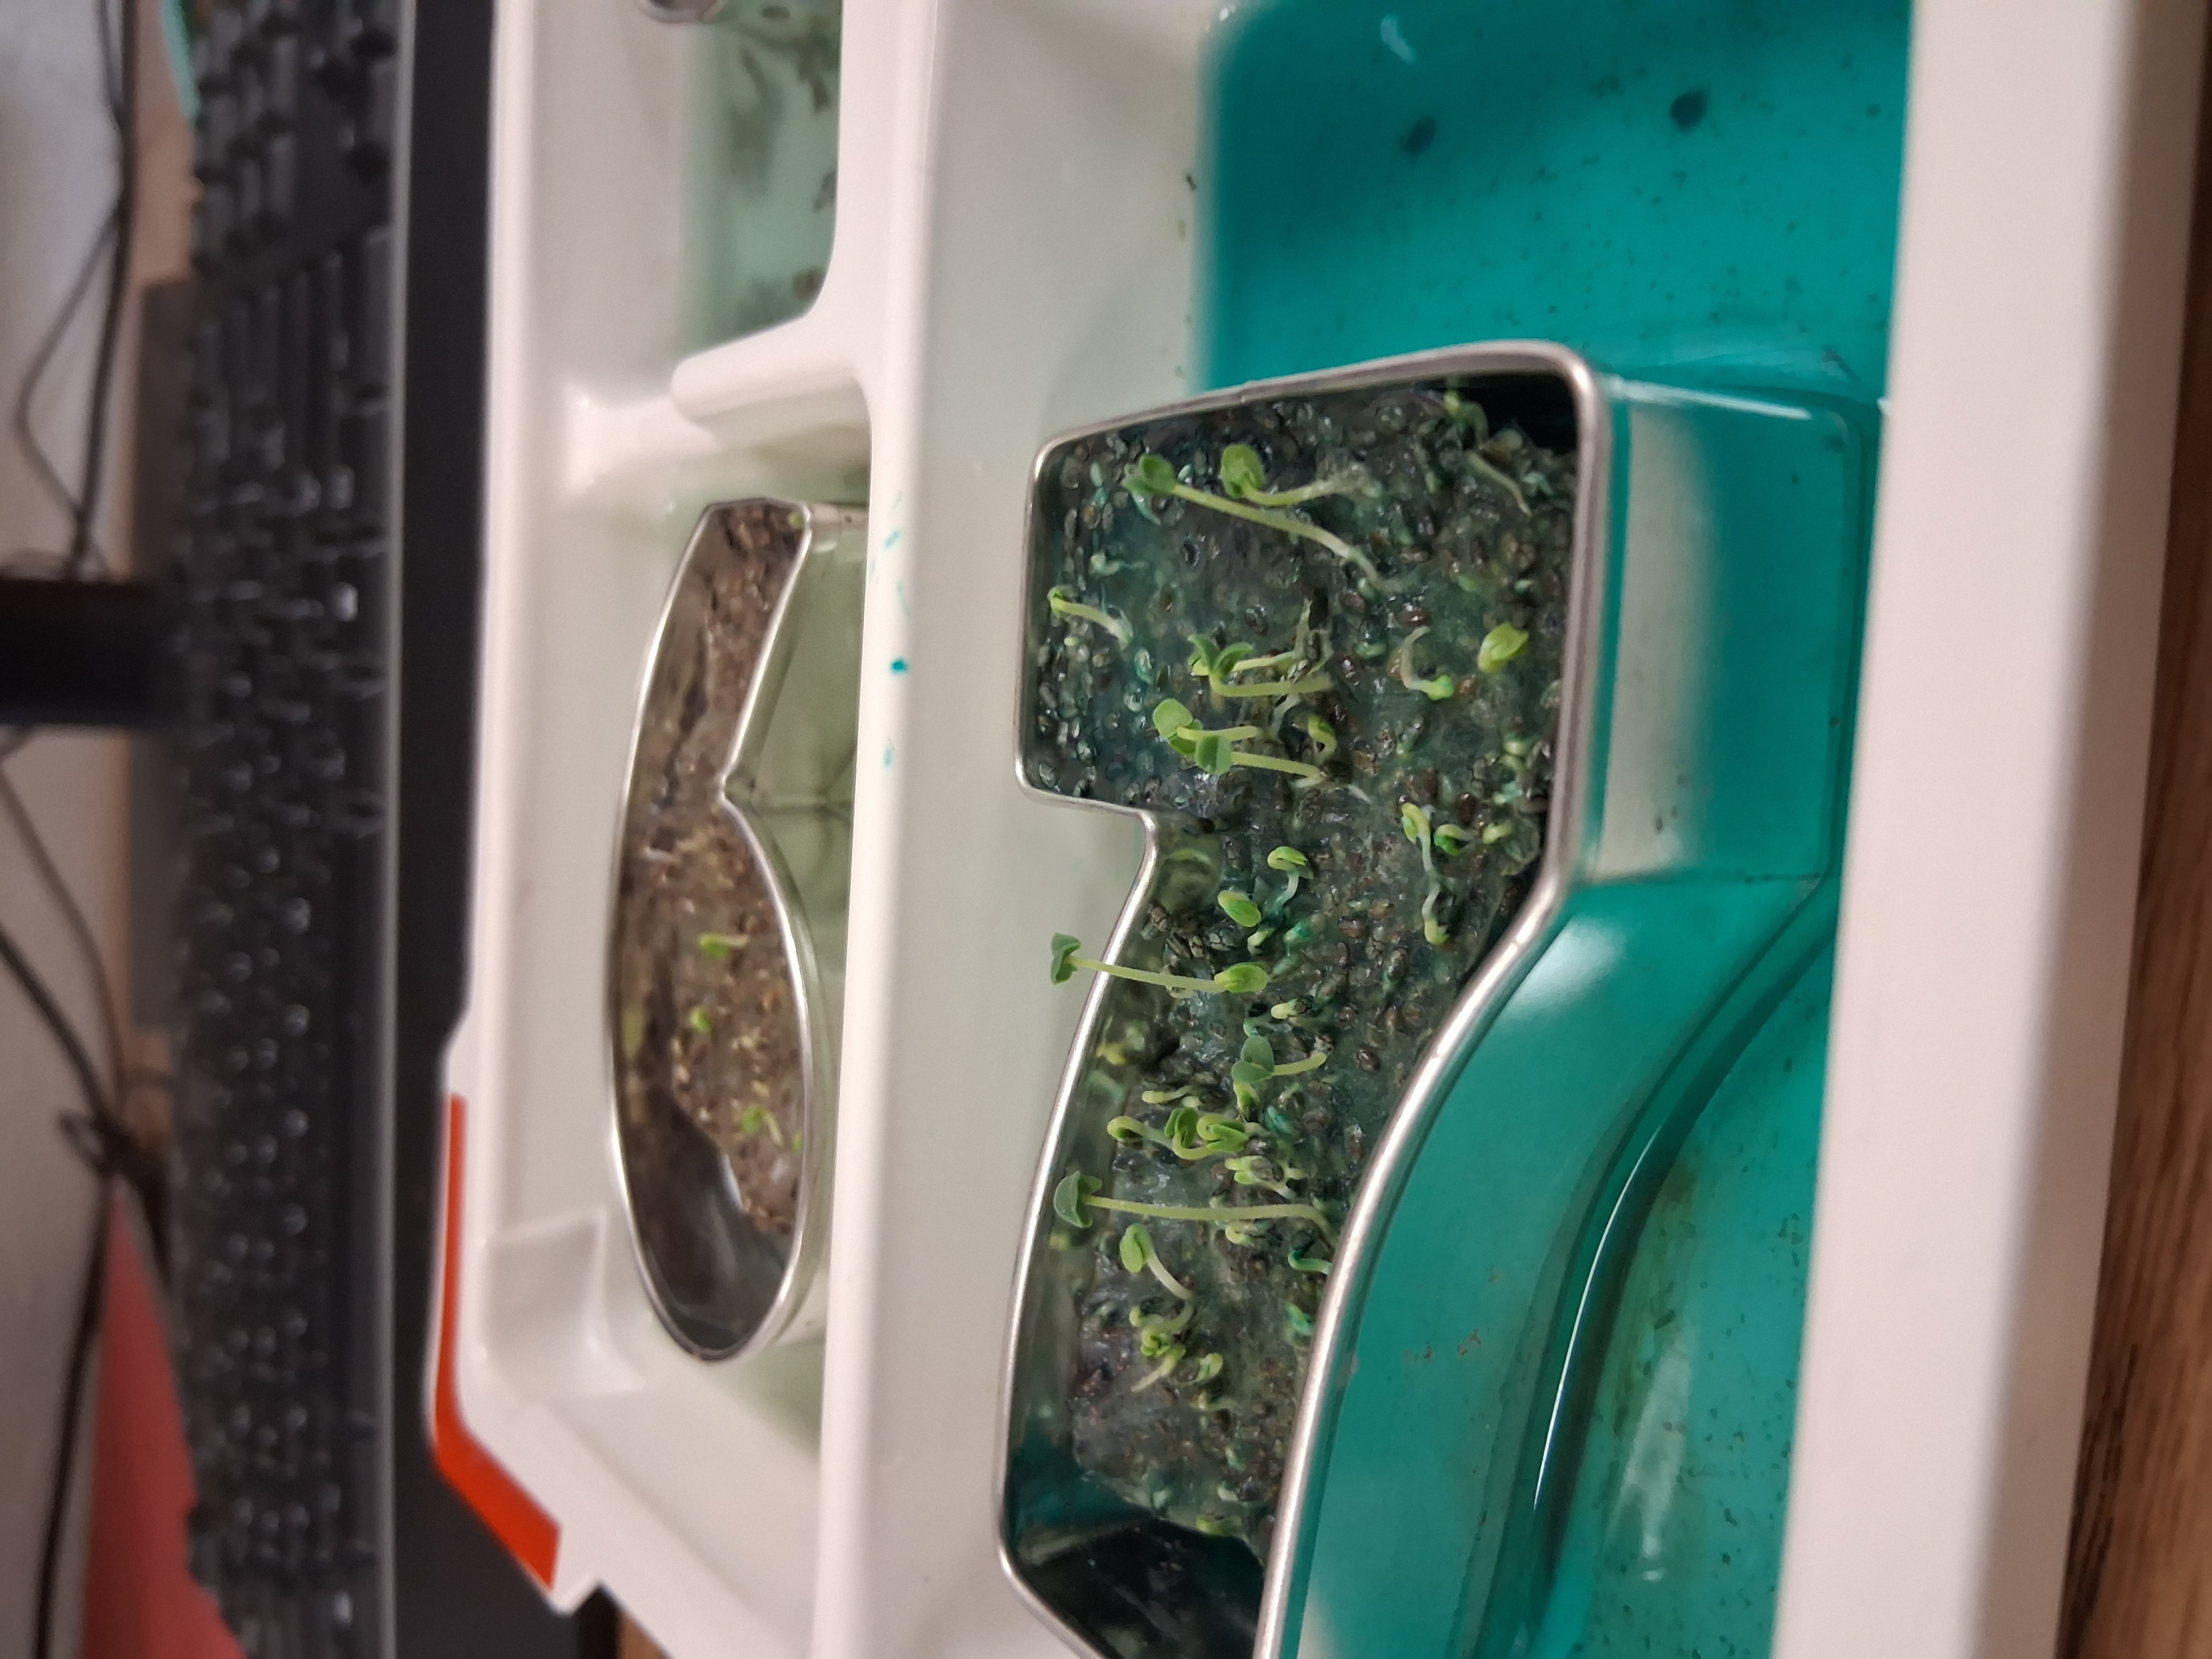
Results
from what we observed the solutions shrank for sure but we definetly saw results. what we saw was growth in the seeds, this relates to bio printing by showing that this is what happens in bioprinting.
What Else?
the chemical reaction that were using is typicly found in food science also. This technique called spherificationit, it uses chemistry to create liquidy foods like soup, purees, juice, yogurt, and pudding into spheres, such as popping boba balls.
How Will This Benifit The Future?
Bioprinting is very beneficial and has great possibilities in the future. Bioprinting can one day be used to replicate things like kidneys, livers, and maybe even hearts. with many people needing organ transplants but not many matches or people willing to donate. 13 to 17 people die per day from not being able to get the organ transplants they need. And with bioprinting we can replicate these organs in the future, not needing another human and being able to get treatment sooner than the way it is now.